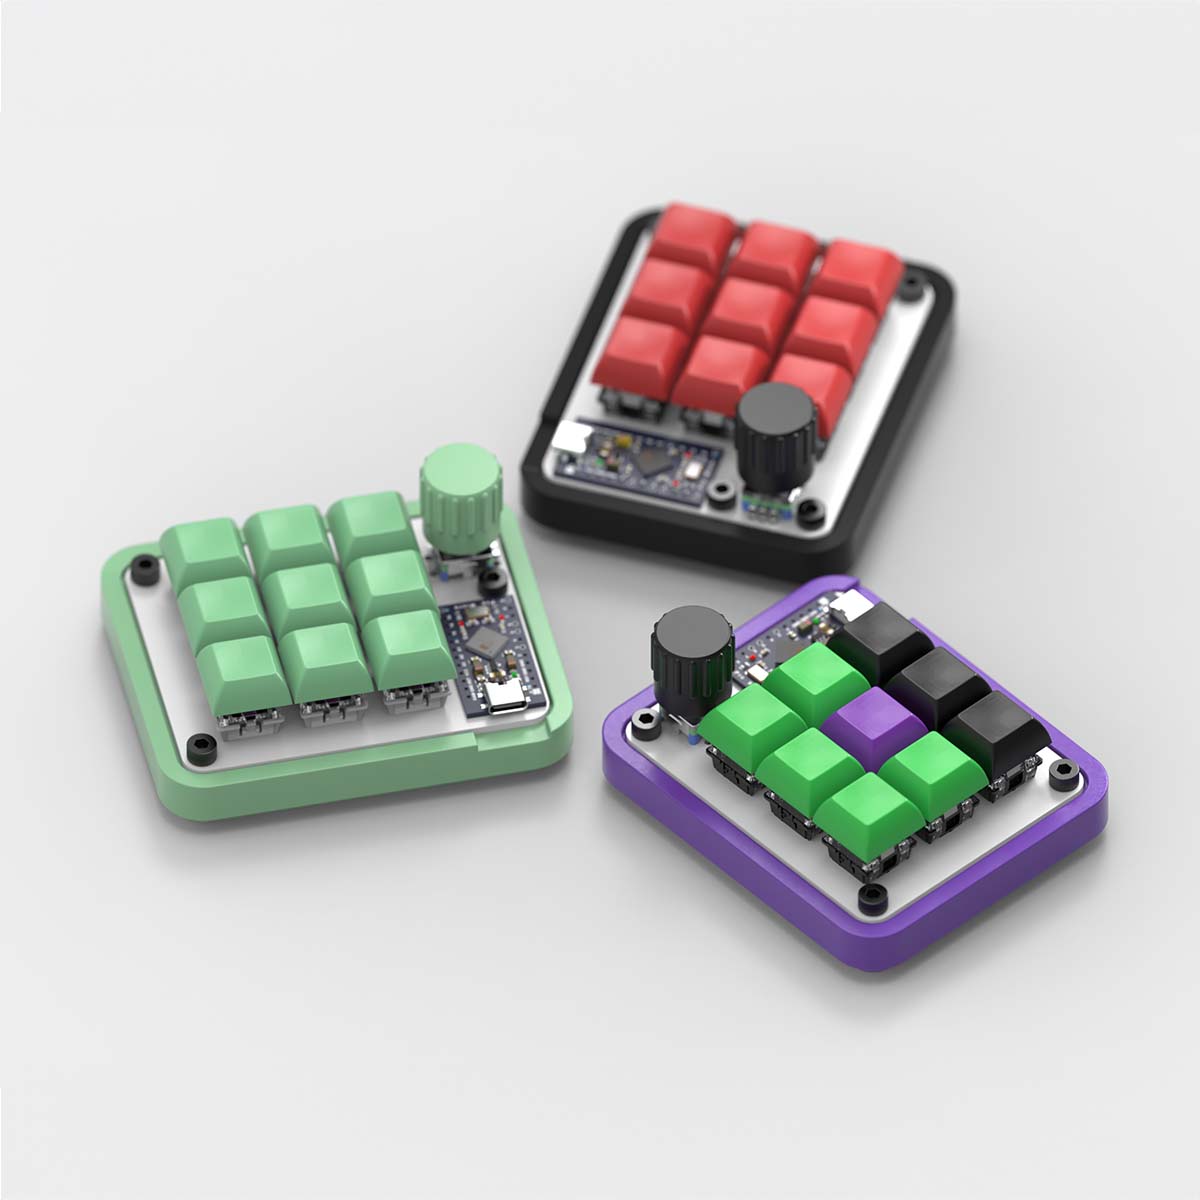
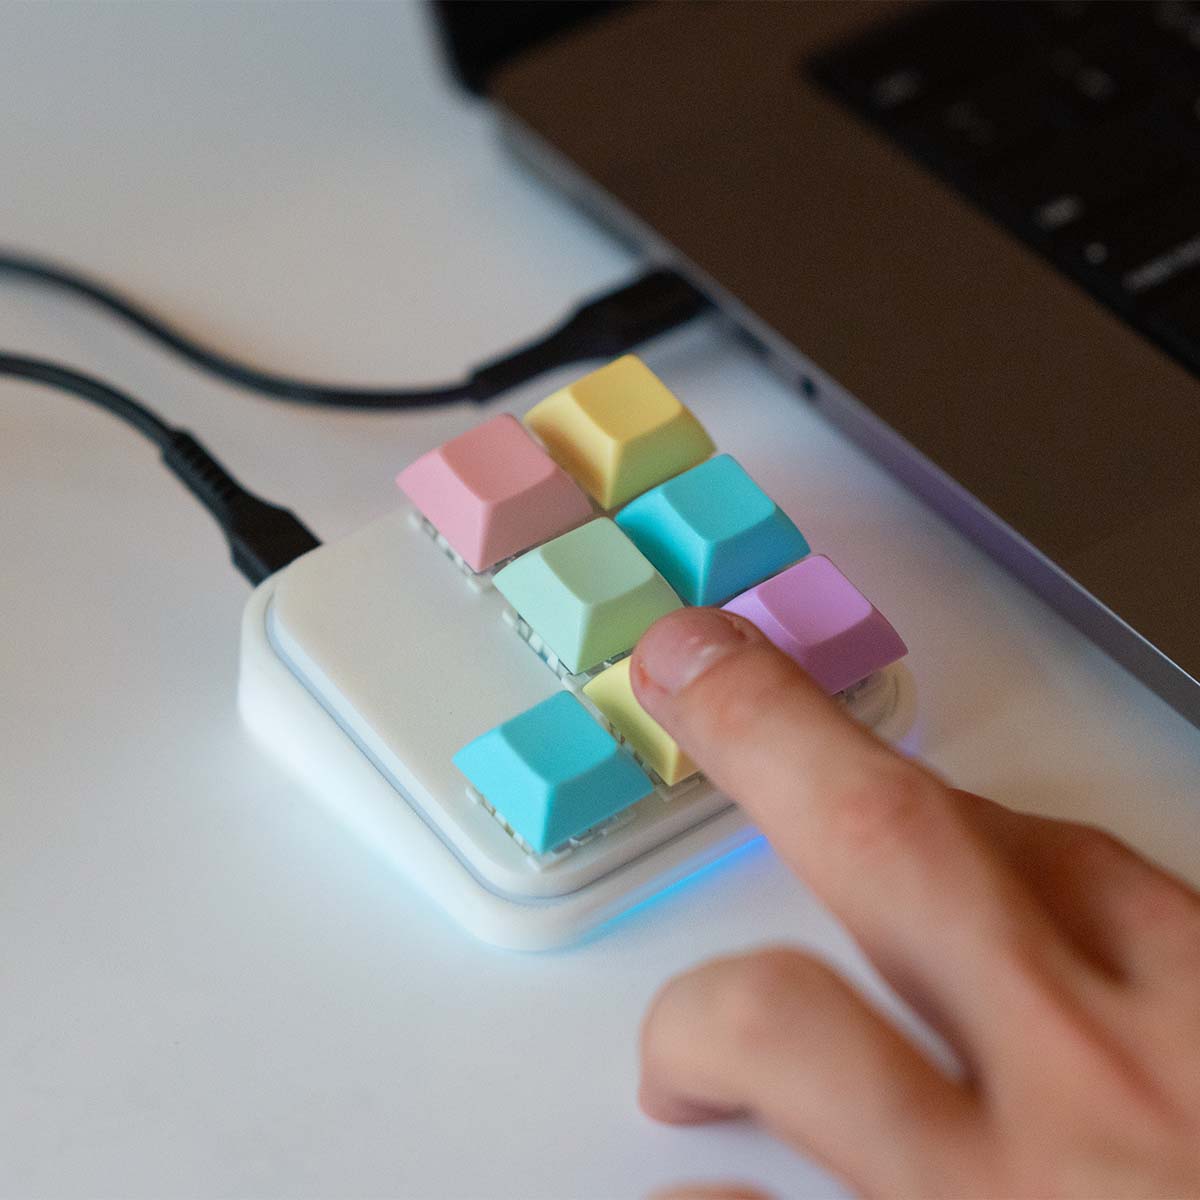
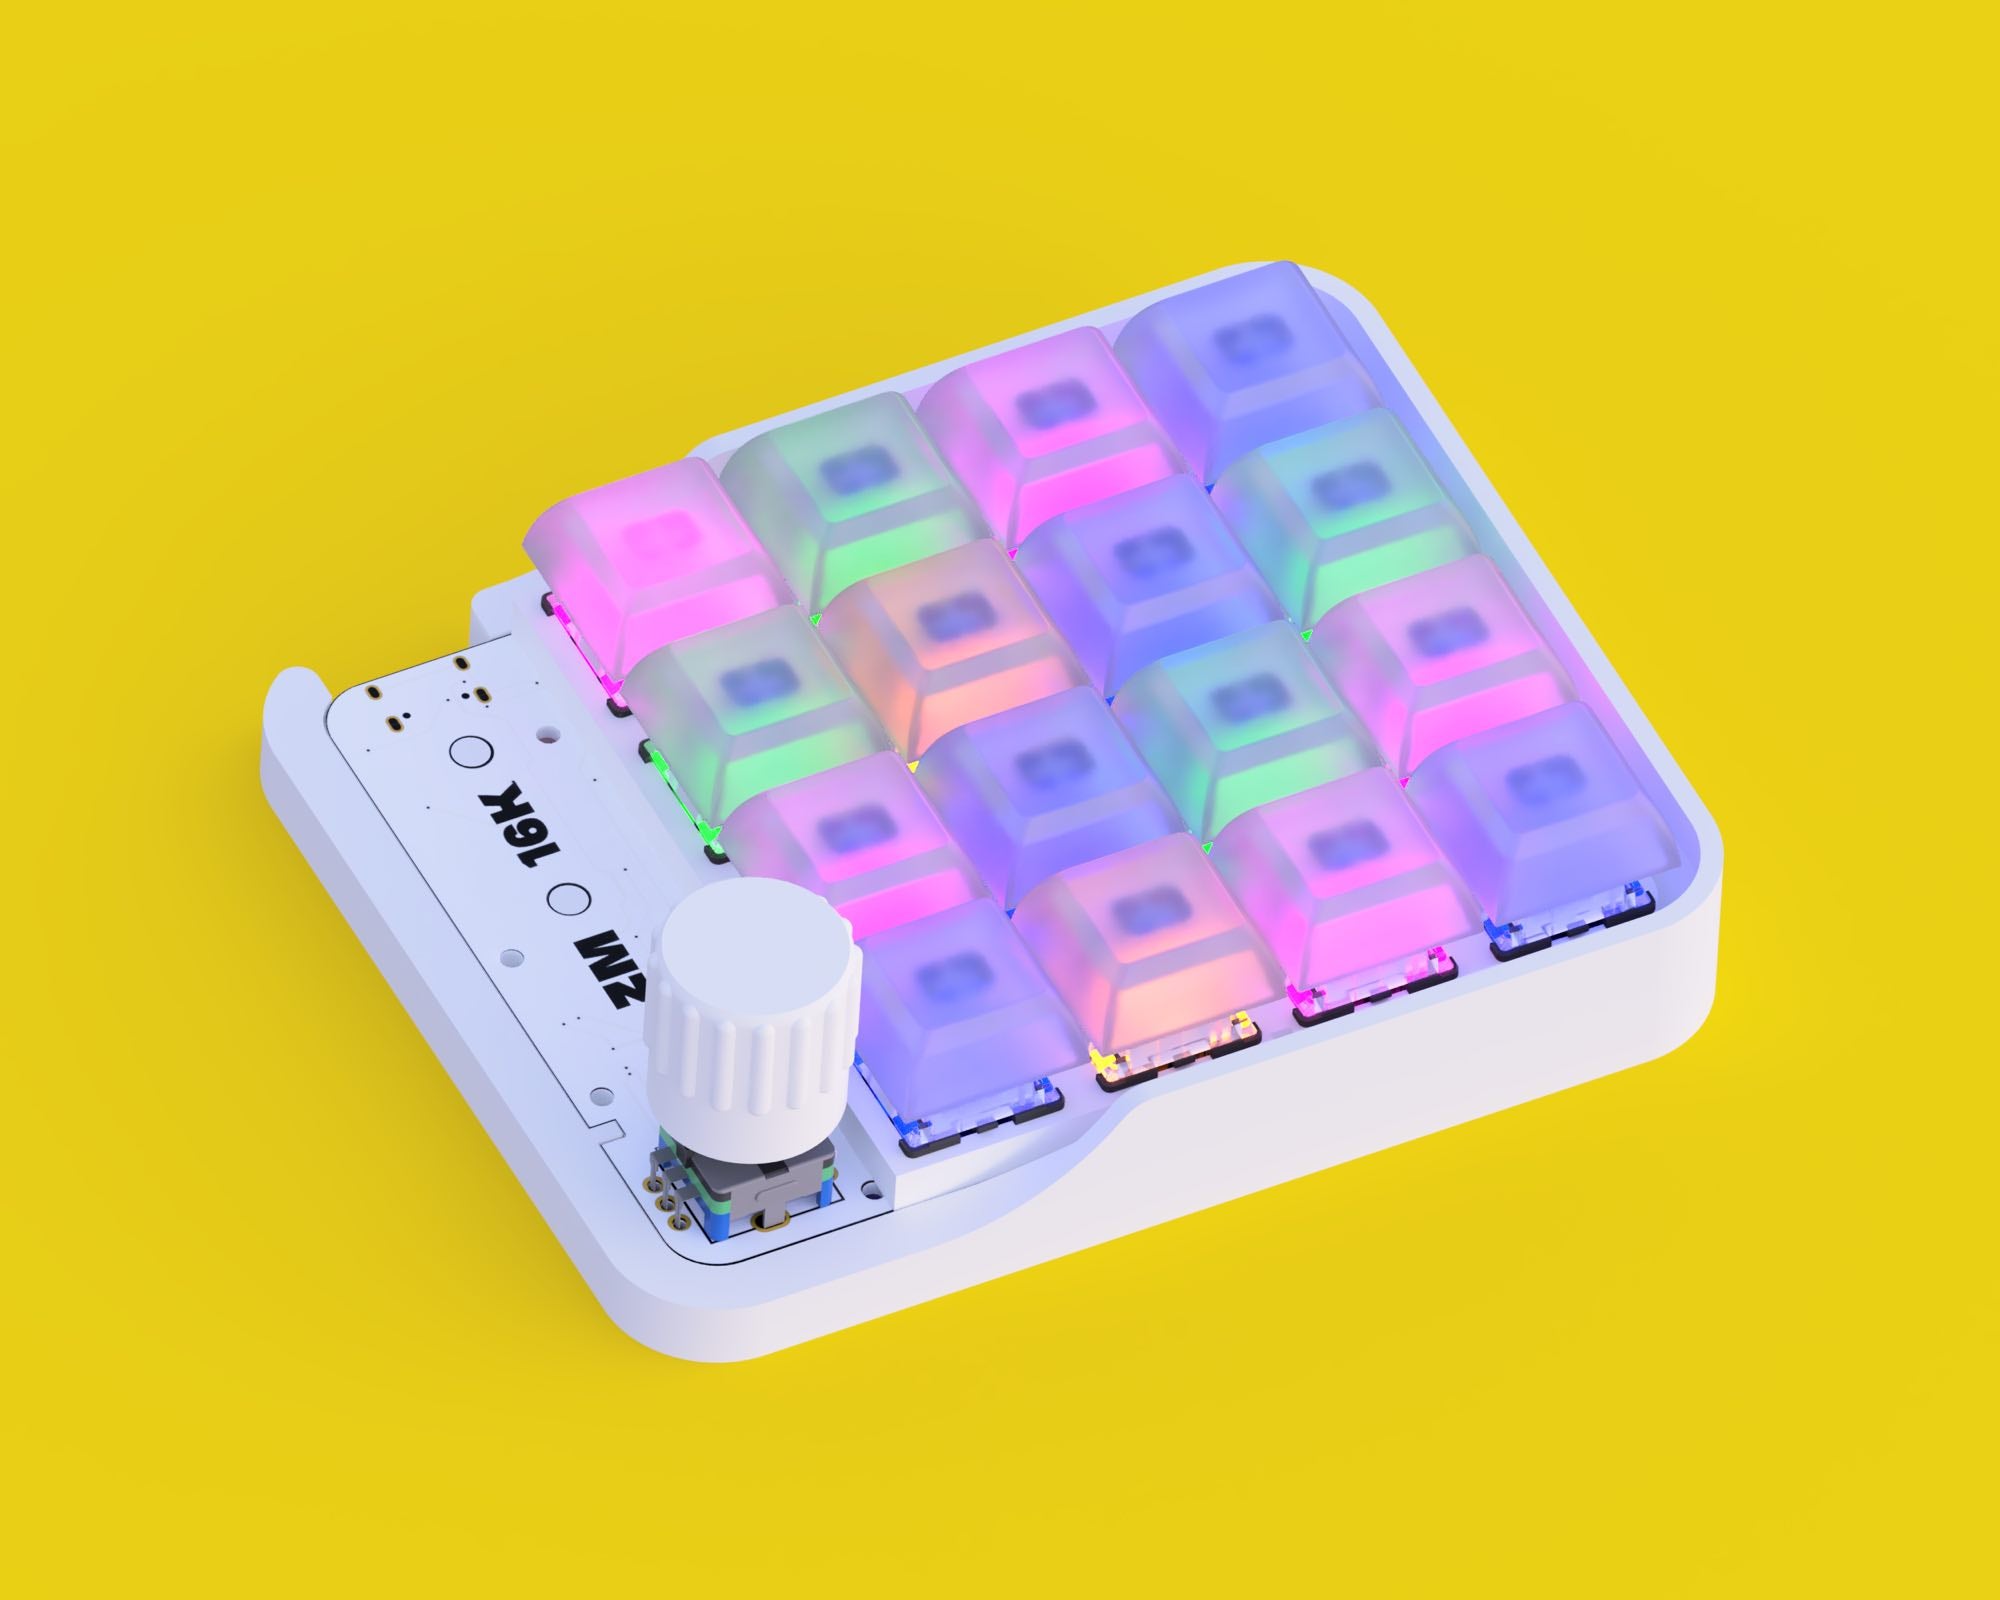
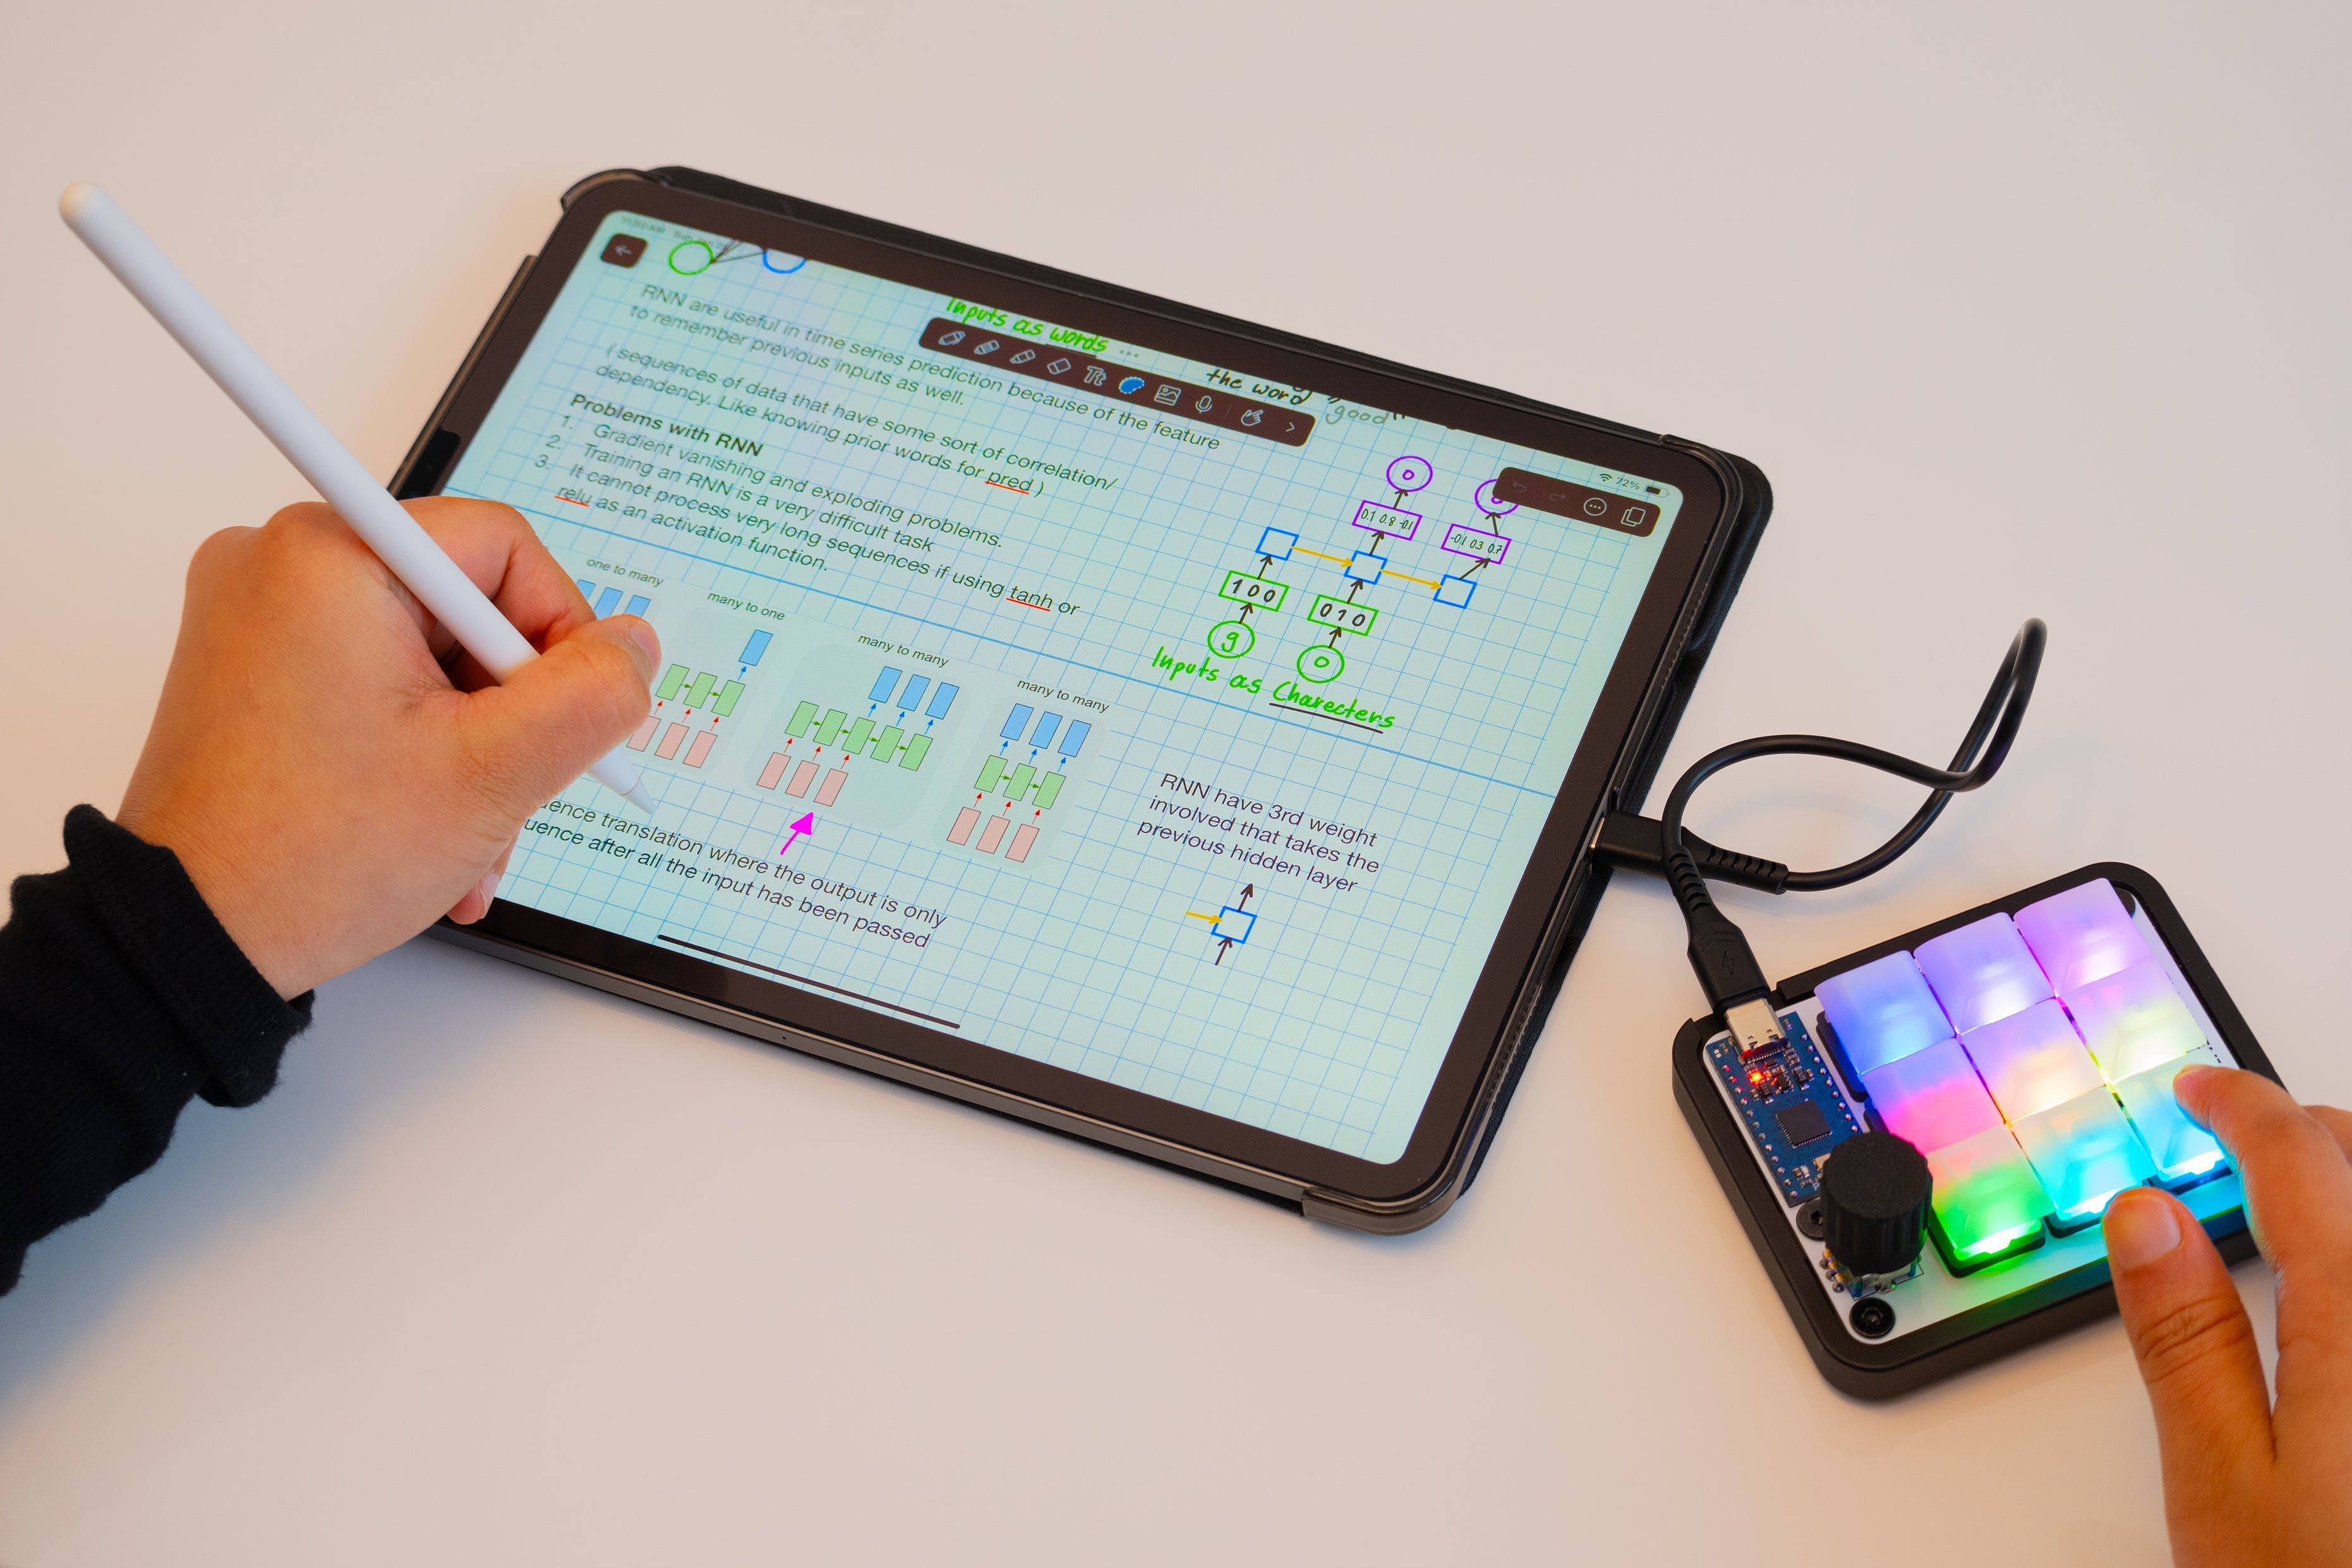
So you just got a new Macropad that uses VIAL and wanna learn how to make advance Macros to automate your workflows!
Watch the Video Guide Here or Follow Text Guide Below
Step 1.
Select the Physical Key you would like to assign a macro to and then click on the "Macro" Tab in the middle tab bar (Underneath your macropad layout)

Step 2.
Assign Macros To the Physical Keys you want

Step 3.
When your done assigned Macros to Keys. Switch to the Macros Tab on the Upper Tab Bar (Near the Top of the Window)

Step 4.
On the Macros Tab, you can select which Macro to Edit/Add Actions too

Step 5.
(For Our Example) While M0 is selected. Click the Add Action Button in the Bottom Right Corner of the Window

Step 6.
Next were gonna get into the Action Types you can add to a Macro. Were mostly focusing on the Down, Tap and Up for this example
Macro Action Types
Action Type |
Desc |
| Text | Output Text Specified |
| Down | Holds Down Keys Specified (Need to assign the Up Action to the same Keys to Unpress them Later, otherwise they will stay pressed forever) |
| Up | Stops Holding Down Keys that were in the Down State by set by Down Action |
| Tap | Momentarily Presses the Keys Specified |
| Delay(ms) | Delay Between Actions, Input in Milliseconds (1000ms = 1second) |

Step 7
Our First Action (For This Example) we will be using Down Command and assigning a key command to it

Lets Go with LGUI (Command On MacOS, Windows Key on Windows)

Lets add couple more actions like Tap(Space) and remember to Add a Up Action to the end for the Down(LGUI) from earlier. (otherwise LGUI will stay pressed forever)

Step 8
Remember to save our macro in the bottom left corner (* asterisk shows unsaved Macros)

Step 9 - Run Our Macro
Now When we Hit the Physical Top Left Key thats assigned the M0 Macro. It opens up spotlight with the Command+Space Actions we made in the Macro

